“Rest now, in the peace of the wild things.” Being a mama means your heart becomes wild. Filled with a wild love for your child like no other. Filled with moments- peaceful + wild- all the same. Filled with joy to its core. I have two little wild loves- two little girls, Charlie + Tessa. They have made my heart, soul and life complete. They have given me purpose, strength + and a life full of beauty and wonder. Being a mama truly is an art form. You have created life, you have created a soul. Your love for your child sculpts the way they will illustrate their life story. We all have our own way of navigating this art- and I have found it to be crucial to my mama soul to share and bond and learn and connect with other mamas and papas. If you need a place to have a community of wild mama hearts, I hope you find one here. And I hope you share your art with me. And to my little darlins, I am your calm- you are my wild.

The 1 Hotel Downtown Nashville: A Local’s Review

Blake and I stayed in the 1 Hotel for just one night to celebrate my 40th birthday. He surprised me by booking it but I had told him I wanted to stay here because it is right up my alley.

Stunning, unique, intentional, purpose-driven, nature-inspired and designed with layers and layers of beautiful natural materials.

We love doing staycations in our city because there are truly so many amazing hotels- it’s a fun way to explore the ever-growing craziness that Nashville has become and it’s also a great mom and dad date. The 1 Hotel is located right downtown Nashville, just a couple blocks south of Broadway. You can easily walk to anything downtown and will be a very short Uber ride away from any other neighborhood in Nashville.

The second you pull up, it is clear that everything you experience is going to be just a little step above the rest. The attention to detail is apparent from the very first glance. Even their street cones separating lanes in the valet are made beautiful with rope and greenery. I mean…come on!

The intentionality with every detail blew me away. Check in was easy, service was lovely. Rustic hardwood floors fill the lobby. Greenery is everywhere. Natural materials like rope and plants and wood are the star of the decor.

We had a standard room with one king bed- but it had a little sitting area attached to the room with a sectional couch, chair, coffee table and sitting area with leather seating and a table. This made it feel like it could have been our apartment. So so cozy and warm. Incredibly inviting.

Chocolate covered strawberries greeted us at the table with bottles of water and a hand-written note welcoming us. A note on recycled paper that you can take home to plant, no less.

Stunning hardwood floors, wood paneling, sheepskins, cozy lighting and soft, neutral tones made our stay so peaceful.

The snack bar was stocked with healthy choices and they had a faucet for filtered water- big win in my book!

Blake and I had eaten at 1 Kitchen, their restaurant, before and it was great- so we didn’t check that out this time.

But we did make it up to the rooftop bar- Harriet’s Rooftop. Same natural vibe as the hotel but with a beautiful tall, back lit bar. Inside leads to the outside deck seamlessly and string lights made it feel cozy. The view of our city was amazing!

But what I was most impressed with and what truly sets 1 Hotel apart from any other hotel in my book is their mission and purpose behind everything they do. The recycle and reuse materials. They have a small timer in the shower that you can use to encourage limiting water use. Towels are encouraged to be hung up and used more than once to save on water and energy. The lobby has a produce stand that supports local farms. Sustainability is at the core of their decor and their restaurants.

And just the coolest thing ever- they have a rock in the room with a printed message that says if any traveler packed too much and has an article of clothing they can spare, 1 Hotel will donate it to a local charity.

They also have a beautiful spa that we didn’t have time to try out, but it looks to die for. Try it and leave me a note! And let me know if you stay here! There’s a reel on my Instagram to check out the visuals!

TLDR: stunning, natural, intentional, purposeful, mission-driven, welcoming, cozy, healthy, local-supporting and perfect location. If I’m going to pay to stay in a hotel in my own city- this one is worth it!
How to Make a Holiday Simmer Pot

This is one of the simplest things you can do around the holiday season. Simple, but impactful. A simmer pot.

A little background: my sweet sister-in-law would do this for us when we would come home from a night out when she was babysitting our girls. And we would feel sooo taken care of when we would come home to our house smelling heavenly. It’s so easy but it feels so luxurious!

So I started making sure I do it throughout the entire holiday season because having our house smell like cloves and rosemary and cranberries and all the delicious holiday smells really puts you in the holiday spirit.

What is a simmer pot? It’s just a simmering pot of water on the stove filled with things that smell good. The smell fills the house.

What You Need:

  1. A pot
  2. Water
  3. Things that smell like the holidays- rosemary, fresh cranberries, oranges, apples, pears, cloves, cinnamon sticks, star anise. Find all my favs and what I use here.

To Make:

  1. Fill pot with water, I usually fill about half way
  2. Place aromatic items in pot
  3. Heat water to just before boil
  4. Turn down to lowest setting/simmer and leave on simmer

Notes:

Don’t forget to turn off when you are done/go to bed/leave the house. It can be easy to forget since the stove will be on the lowest setting. I usually get 2-3 uses/simmers out of one batch. It depends on how long you leave the pot simmering each time.

This past year I turned this simmer pot idea into easy, beautiful handmade gifts for neighbors and teachers. IMO, there is nothing better than homemade gifts for Christmas.

I simply bought mason jars at my local grocery store and filled them with a mix of all the aromatic items. I tied them with a ribbon and a little note that said, “Add to a simmering pot of water for holiday smells”. If I added fresh cranberries, I left them in the fridge until gifted so they wouldn’t go bad.

I made 12 at one time and it was amazing to have them on hand for gifts. Happy smells + easy gifts for the win!

Easy Holiday Craft for Kids- Ice Cream Cone Trees

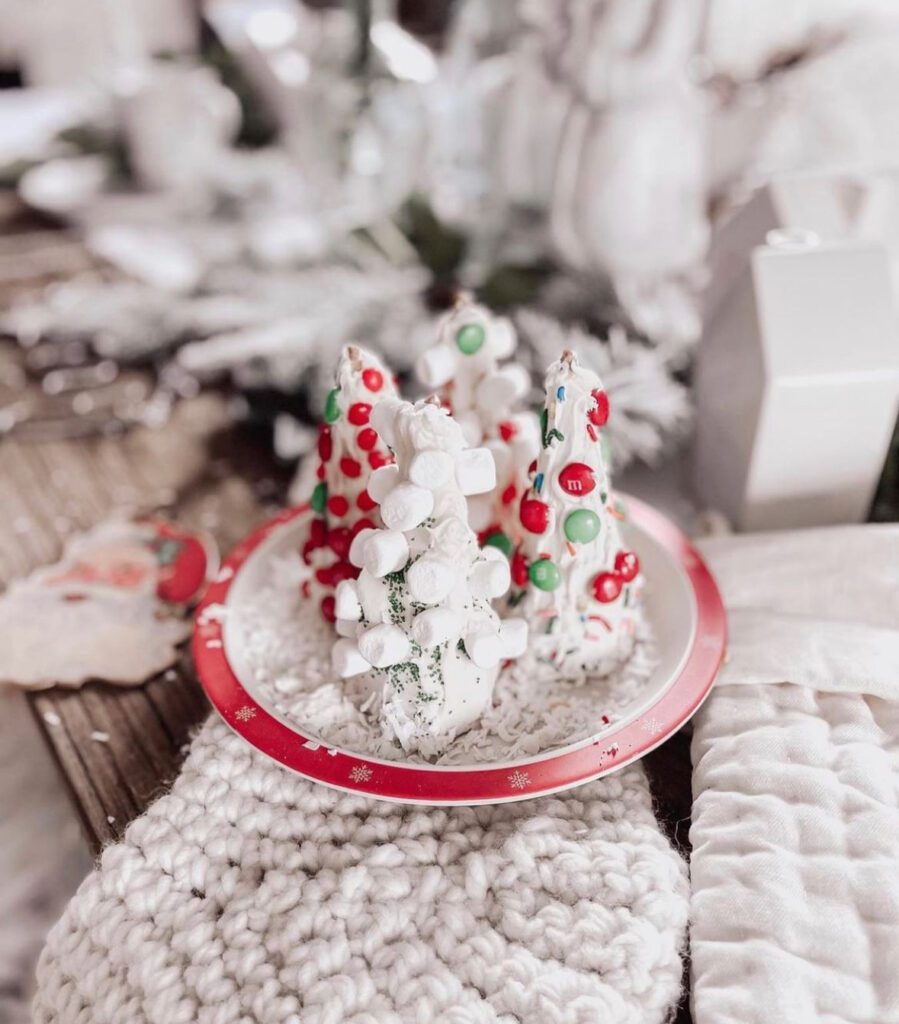
Looking for an easy holiday craft that your kids will LOVE? Try these ice cream cone trees!

I grew up doing this with my mom and then my siblings and I carried on the tradition even in our 20s and 30s as we would make a gingerbread house at Christmas time.

But even if you don’t make the gingerbread house, you can still have your kids make these adorable trees. Both Charlie and Tessa, my daughters, love doing them so much and look forward to them every holiday season. They’re a tradition in our house.

What You Need:

  1. One package of ice cream cones- the pointy kind
  2. One jar of white icing
  3. Candy and toppings to decorate- think M&Ms, sprinkles, marshmallows, peppermints, rope licorice, gumdrops, red hots
  4. Optional: food coloring if you want the trees to be something other than white
  5. Optional: coconut to make it look like snow around the cones

To Make:

  1. Place ice cream cones on a paper plate upside down
  2. Spread frosting on cone with a plastic or child-safe knife
  3. Decorate with candy and toppings of choice
  4. Spread coconut around trees and enjoy your winter wonderland

Notes:

We usually keep the cones as decoration on a table or around a gingerbread house. But the girls usually make a couple extra to eat as a treat!

And these do not just have to be for Christmas! Choose white and blue for Hanukkah colors or even orange and red to decorate a Thanksgiving table. How pretty would that be??

The Best Stain Removers for Life with Kids

If you were to come to my house, you would think, “Wow! There’s a lot of white in this house!” And then your second thought, I’m sure, would be “Ummmm Rebecca are you crazy!? How can you have this much white furniture with two little kids???”

I will tell you how:

  1. Yes, I am crazy. But hey YOLO and I like white furniture.
  2. Two stain removers I can’t live without.

Also, as a side note: just because you might not have white furniture, doesn’t mean your furniture gets less stains on it. We can just see them better! But I say this in all honesty, I would rather see the stains better and wash them right away than have furniture that “hides” stains. Yes of course we have blueberry stains and marker stains and dirty finger stains. Life with kiddos- can’t avoid.

Most of our white furniture is slipcovered so they’re super easy to strip and wash.

BUT, for spot treatment and treating them before you throw them in the wash, you need these:

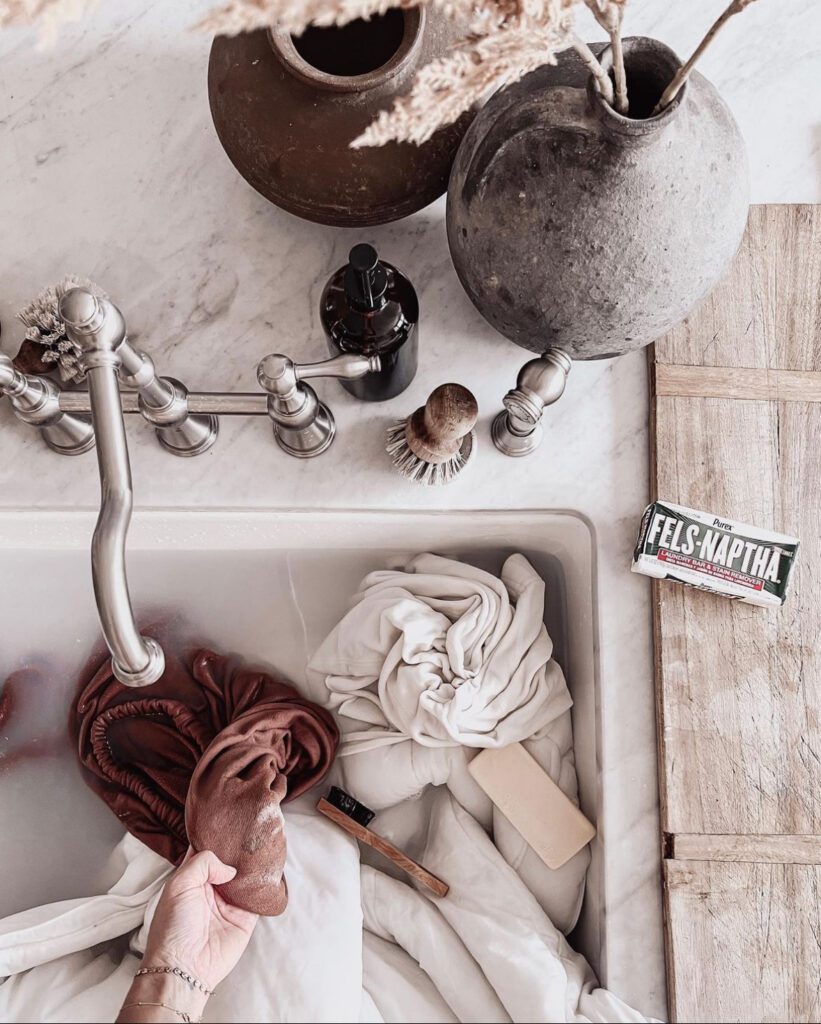
  1. Fels Naptha
  2. Miss Mouth’s Messy Eater Stain Treater

I’m sure you’ve all heard of Fels Naptha- nothing new or novel. BUT IT WORKS. I also love that laundry brush in that photo. The two go super well together. Find them both in my Amazon store under the “Home” category.

I use Fels as a spot treatment when I have the laundry item already off and ready to go in the wash. I always keep a bar of it at our utility sink in our laundry room.

But my secret for spot treatment when I don’t want to get off the whole slipcover quite yet? Miss Mouth’s Messy Eater!! This stuff works wonders. WONDERS I tell you. Just spray it on and let it sit. Don’t rinse out. Then watch your stain disappear. Yep that easy.

I also keep this in the laundry room before washing as an extra tool if necessary.

And of course there’s also OxyClean- that stuff works well too but I truly have found that these two work even better. Mama win!

How to Make Homemade Vanilla Extract

Homemade vanilla extract is one of those things that seems like it would be hard to make or too fancy of a thing to even consider doing. Because the end result really is so fantastic that it tricks you into thinking it wouldn’t be worth it! But I am here, to tell you friends, that it is.

Vanilla extract, like real vanilla, is expensive. And that price tag usually isn’t for that big of a bottle.

Making it yourself is one of those things that really becomes quite cost efficient because of the amount you can make at one time.

And it’s two ingredients- doesn’t get much simpler than that, no?

The only thing that makes DIY vanilla a tad dramatic is that it needs time to sit. Like months to a year time to sit. Many recipes say a month or two. In my experience, that is not long enough to really combine the flavors and turn it from pure alcohol to vanilla.

So take note that if you are beginning this project now, it will not be ready for several more months. It is December 18th as I write this so this is your sign to make it now for NEXT year’s gifts.

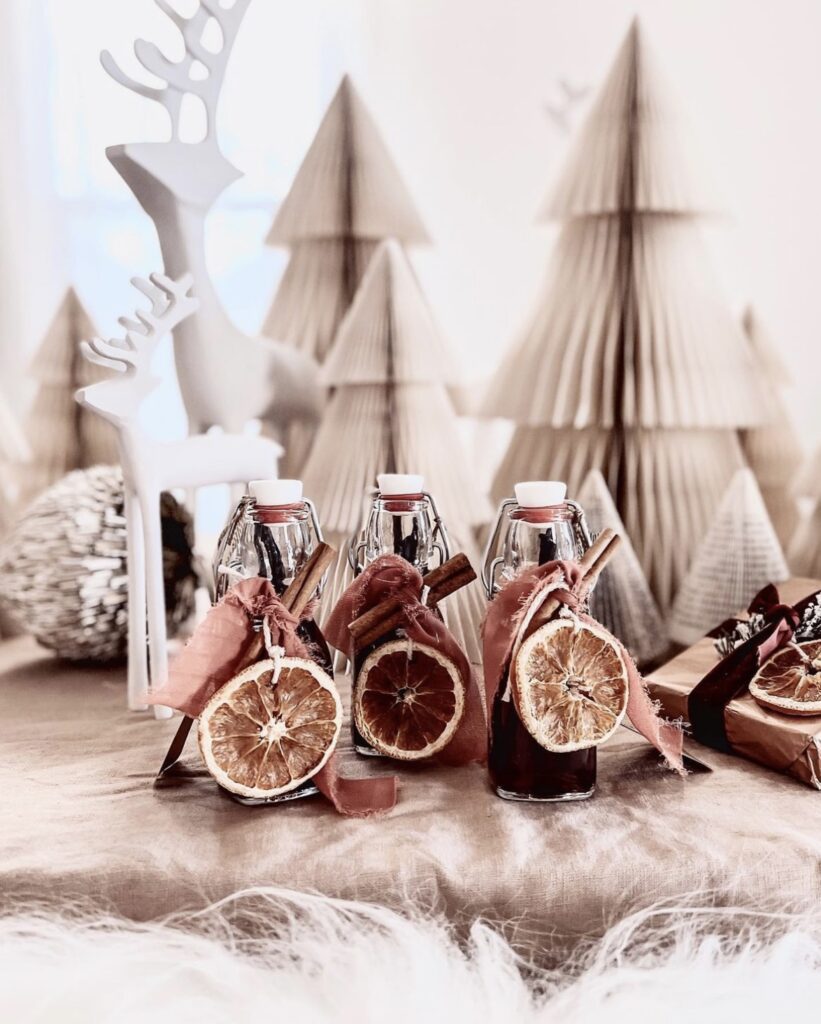
I have gifted little bottles of my bourbon vanilla to teachers, friends and neighbors. In my humble opinion, nothing says love and care like taking the time to make a gift for someone. I know *I* appreciate when someone gifts me something that they took the time to make. Our next door neighbor’s son, who is 10, made us the most beautiful wreath for our front door this winter season and it is one of my favorite gifts ever.

If you are pressed for that much time, you can give a little bottle with a note that says to let it sit for a few months. I have done that in the past.

WHAT YOU NEED

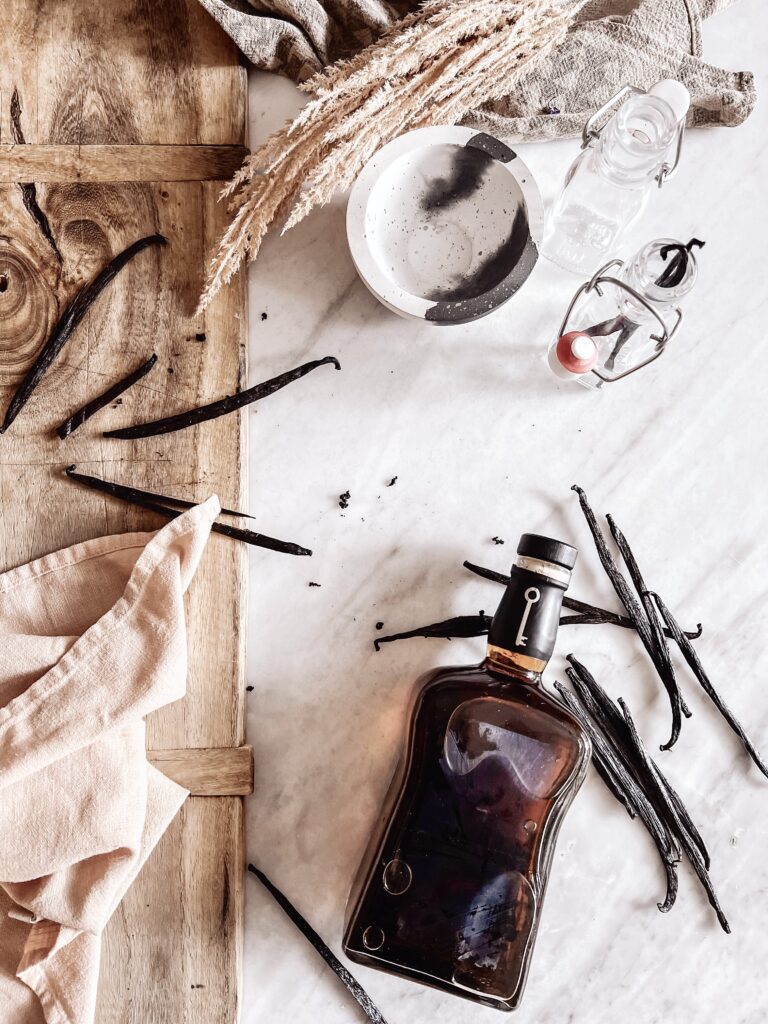
  1. Alcohol that is at least 70 proof. This can be vodka, bourbon, brandy, rum. I chose bourbon because it pairs so well with the vanilla flavor. It does not need to be expensive or fancy alcohol. My husband told me to use Larceny bourbon because it’s a nice middle of the road option. I use a 750ml bottle.

2. Fresh, soft vanilla beans (pods). 15 beans per 750ml. These are the ones I use.

HOW TO MAKE

  1. Slit beans down the middle, exposing the seeds. I scraped some seeds out and put them directly in the bottle. Put split beans in the bottle.
  2. Reseal bottle and shake vigorously.
  3. Store in a cool, dark place for at least 3-6 months.
  4. Shake every so often.
  5. If you are going to gift the vanilla, pour into smaller bottles using a small funnel.
  6. Tie some beautiful ribbon on and voila! A beautiful, homemade gift.

Notes:

I got small French bottles at The Container Store. Any bottle that seals properly will do.

I added some of the split beans to the gifted bottles so the flavors could continue to meld together.